Adding text to images before you publish them is possible in most of social media apps, but here’s a quick tip on how to add text to a photo on the iPhone and iPad using the default Photos app.
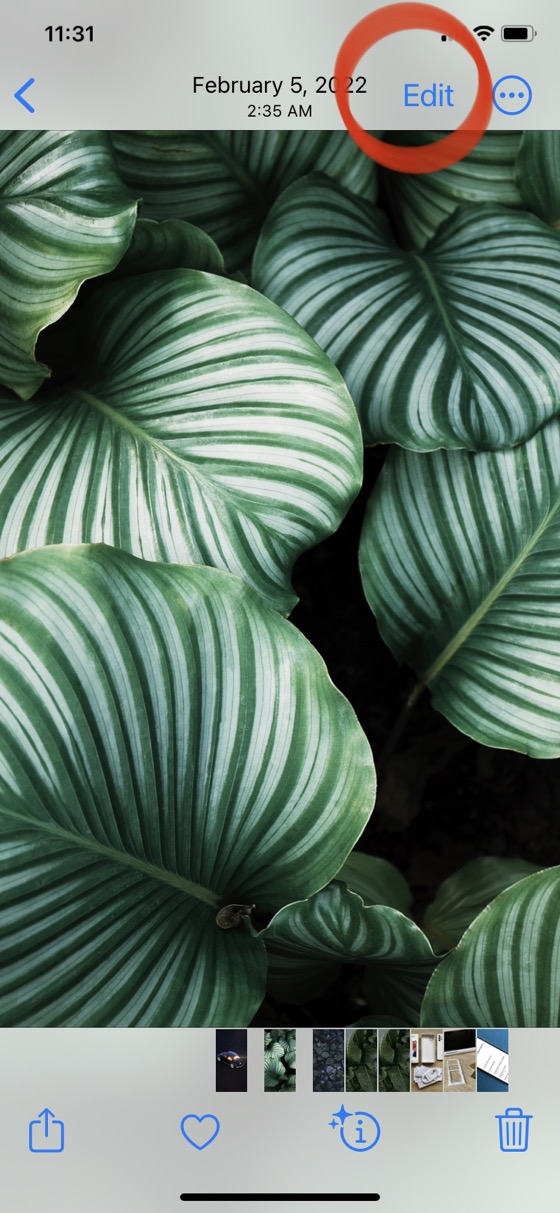
- Open the Photos app and tap on the photo you want to add text to.
- Tap on the Edit button in the upper right corner of the screen.
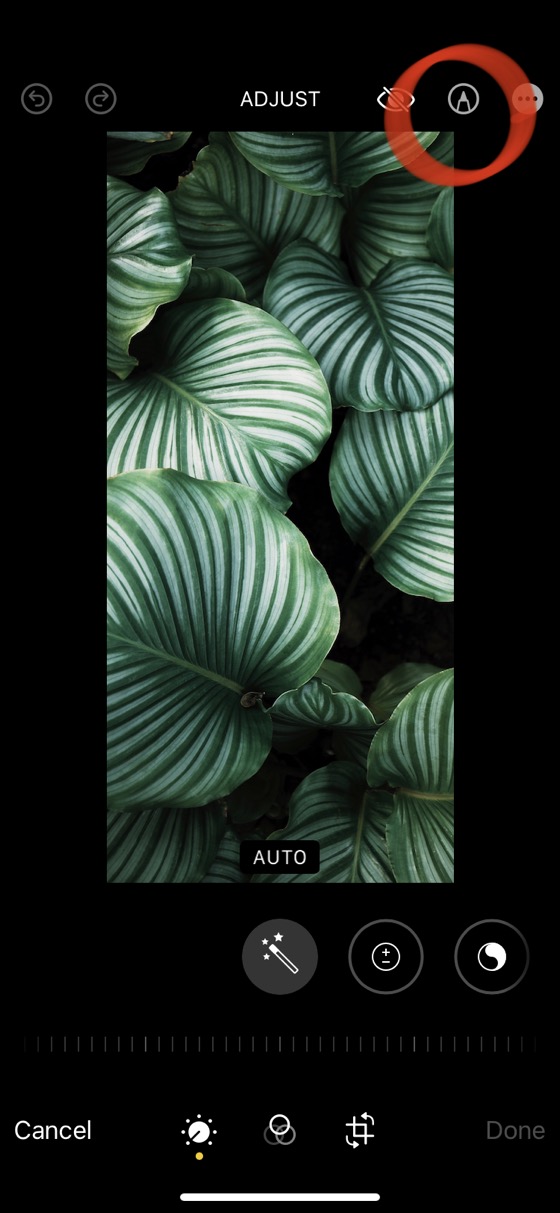
- Tap on the Markup icon (represented as the tip of a marker pen) in the upper right corner of the screen.
- Tap on the + (plus) in the lower right corner of the screen.
- Tap on the Text option on the menu.
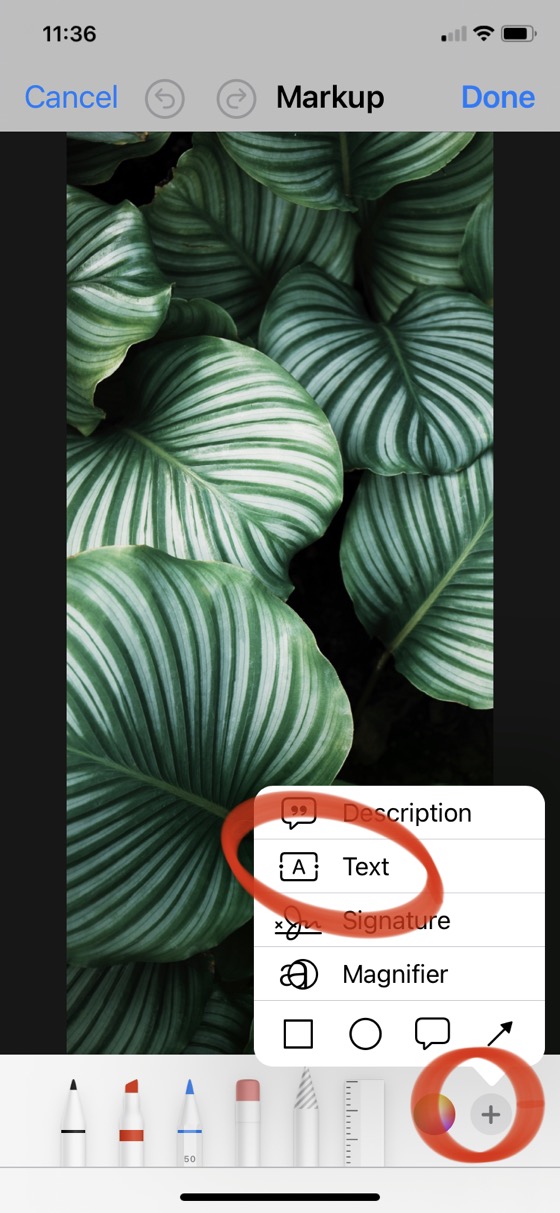
- A text field with the word Text will show up on the photo.
- Double tap on the text to edit it by typing your own.
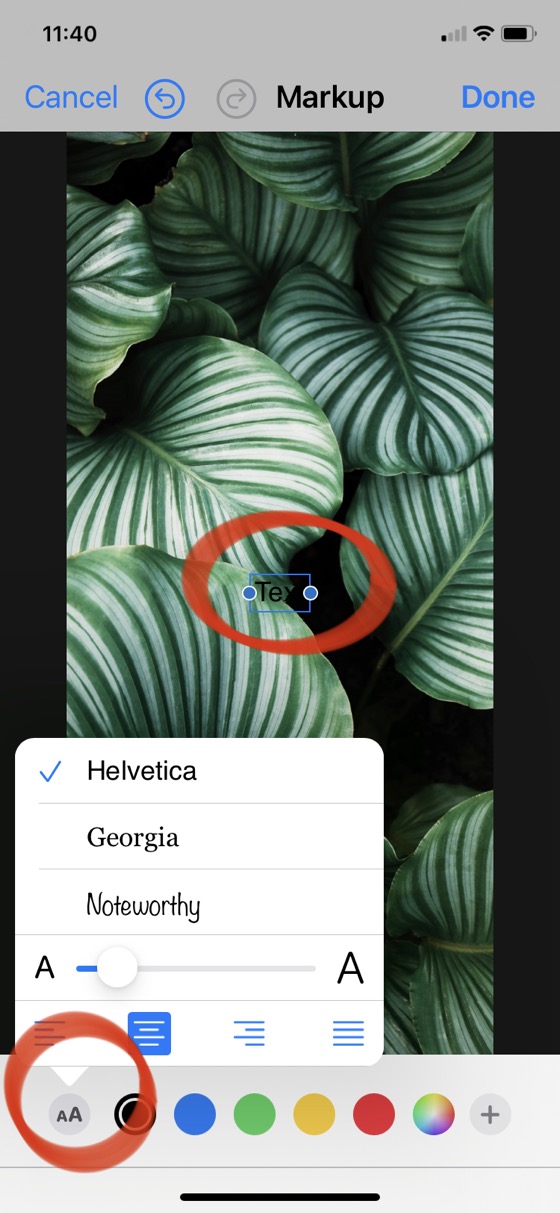
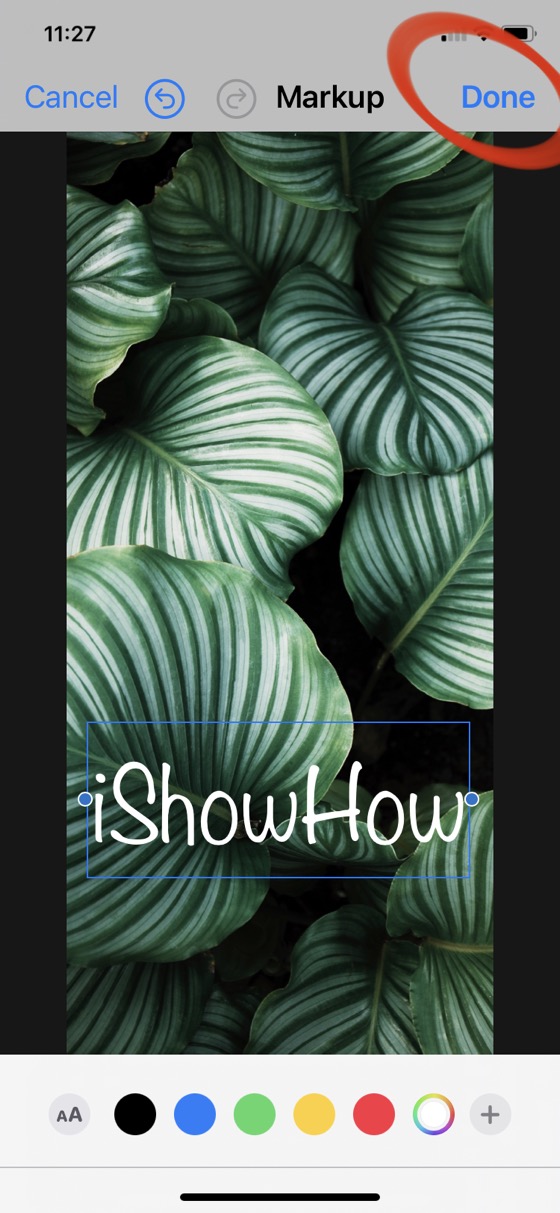
- You can customize the appearance of the text by choosing the position of it by dragging, the shape of the text field by dragging the sides of it, and selecting a different font, text size, alignment, and color via the bar on the bottom of the screen.
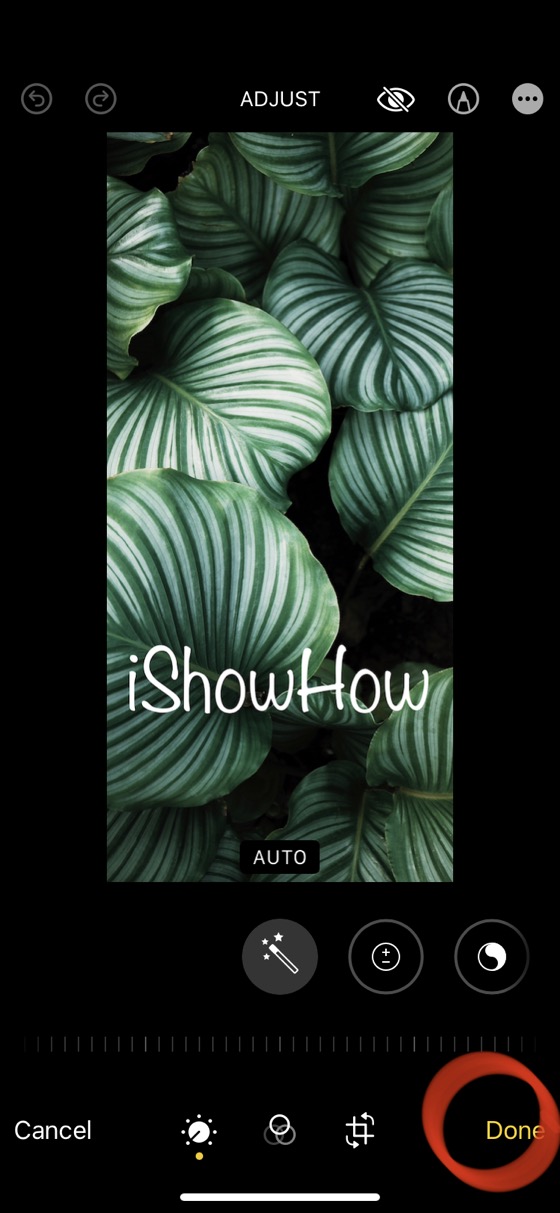
- When you’re done, tap on the Done button in the upper right corner and another Done button in the lower right corner of the screen.
- That’s it.
By default, the original version of the photo is backed up. If you have made a mistake and saved the photo with the wrong text, you can tap on the Edit button again and repeat all the other steps as listed above.
This was a guide for adding text to a photo on the iPhone and iPad in the Apple’s own Photos app. There are many 3rd party image editing apps that have the option of adding text, too.
Leave a Reply